Posts

Showing posts from February, 2014

Drupal - Reset user's password in mariadb console

To reset the password of a certain user in Drupal, you can go directly to the mariadb console and update the hashed password for that user. 1. First create a hashed password by running the following Drupal's script: $ cd /path/to/drupal/root $ ./scripts/password-hash.sh "Mynewpassw0rd" password: Mynewpassw0rd                 hash: $S$DaV2cH0vn1Sxg71dLnN9NYE2B4acIWn94toMR3ign2CGHMXxmBQd 2. Go to mysql console and update user 'myuser' password: $ mysql -u dbadmin -p Password: **** MariaDB > USE mydb; MariaDB [mydb] > UPDATE users SET pass='$S$DaV2cH0vn1Sxg71dLnN9NYE2B4acIWn94toMR3ign2CGHMXxmBQd' WHERE name='myuser'; 3. Done

CSS - Body's Background image rotation

To add background image rotation for your website, use the following jquery and css snippet: CSS: body { transition: background 1s ease-in-out; -webkit-transition: background 1s ease-in-out; -moz-transition: background 1s ease-in-out; -o-transition: background 1s ease-in-out; } .image-0 { background:url('/images/bgmain.png'); } .image-1 { background:url('/images/bgmain1.png'); } .image-2 { background:url('/images/bgmain2.png'); } .image-3 { background:url('/images/bgmain3.png'); } JS:     <script src="https://ajax.googleapis.com/ajax/libs/jquery/1.11.0/jquery.min.js"></script>     <script> $(document).ready(function(){ var msecs = 5000; var step = 0; var limit = 2; $("body").addClass("image-"+step); setInterval (function(){ $("body").removeClass("image-"+step); step = (step > limit) ? 0 : step +...

Apache Directory Studio, such a useful tool!

Image
Every time I need to do something with the Active Directory, I have to remote desktop to the DC and use the Microsoft's administrative tool. It is quite inconvenient! Now with Apache Directory Studio, I can easily manage the AD in my computer which is a Linux machine. It also supports Windows and Mac OS X platform: Project's official link:  https://directory.apache.org/studio/

edX-platform - Change site name used in account activation email

The default configuration for SITE_NAME used in account activation email of edx-platform can be change by modify the following file: # nano /edx/app/edxapp/lms.env.json ... "SITE_NAME": "your.custom.domain", ... Restart the LMS/CMS service: # /edx/bin/supervisorctl -c /edx/etc/supervisord.conf restart edxapp: # /edx/bin/supervisorctl -c /edx/etc/supervisord.conf restart edxapp_worker:

edX-platform - Error in dashboard when logging in as superuser account

Image
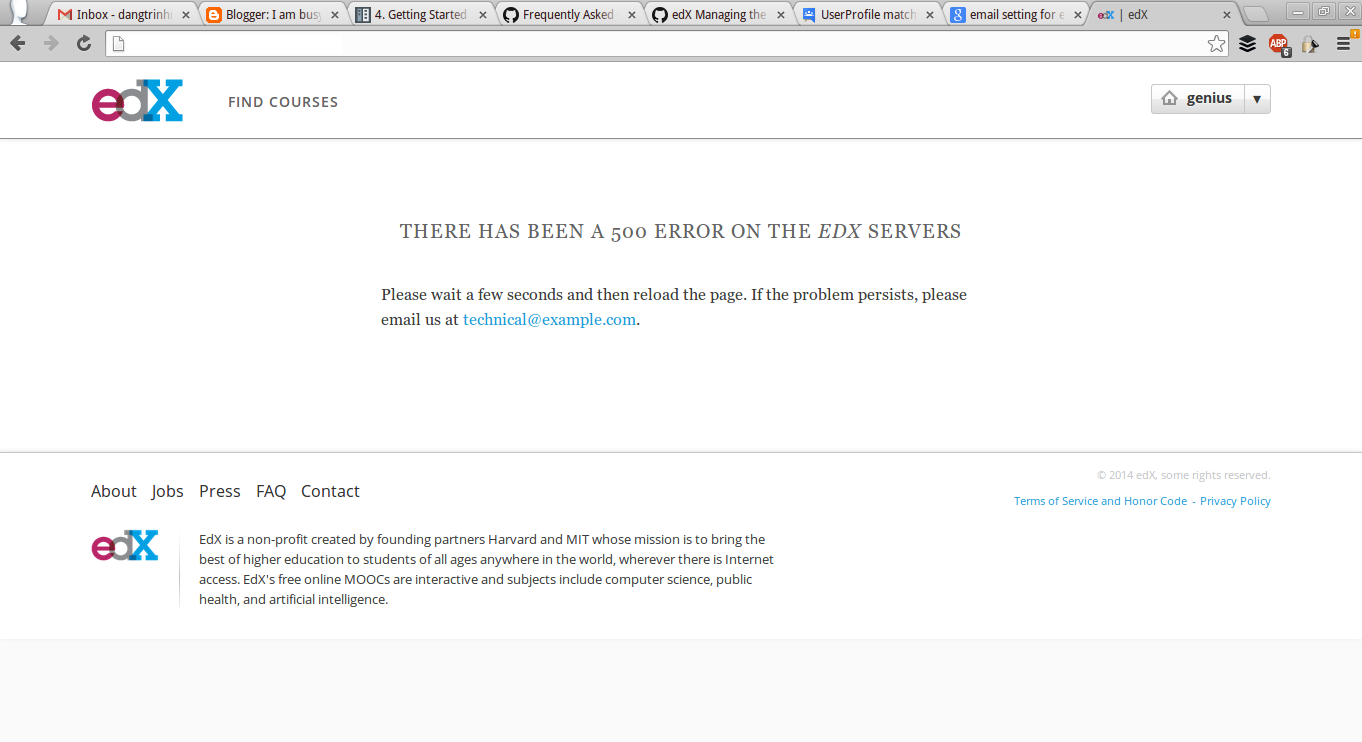
In edX-platform, you can access the Django's interface by accessing this following url: http://your.url.com/admin And logging in using the superuser account. But, after you logged in, you access the home page, you will see this error: You can see the stack trace at /edx/var/log/supervisor/lmstderr.log 2014-02-25 01:14:51,112 ERROR 5367 [django.request] base.py:215 - Internal Server Error: /dashboard Traceback (most recent call last):   File "/edx/app/edxapp/venvs/edxapp/local/lib/python2.7/site-packages/django/core/handlers/base.py", line 111, in get_response     response = callback(request, *callback_args, **callback_kwargs)   File "/edx/app/edxapp/venvs/edxapp/local/lib/python2.7/site-packages/django/contrib/auth/decorators.py", line 20, in _wrapped_view     return view_func(request, *args, **kwargs)   File "/edx/app/edxapp/venvs/edxapp/local/lib/python2.7/site-packages/django/utils/decorators.py", line 91, in _wrapped_view   ...

Django-wiki, an alternative for MindTouch enterprise wiki?

Image
The MindTouch open-source enterprise wiki has been abandoned for a while. Instead of continuing develop the open-source version, they changed their model into cloud based hosting. This disappoints us because the product is so great lately. Now, our organization have to stay with the soon-to-be obsoleted system. Fortunately, I found a project that looks promising: django-wiki https://github.com/benjaoming/django-wiki   So, let's start trying it. 0. Prepare the environment and directory: $ virtualenv ~/.venv/wiki $ source ~/.venv/wiki/bin/activate 1. Clone the repository: $ git clone https://github.com/benjaoming/django-wiki.git 2. Install requirements: (wiki)$ cd django-wiki (wiki)$ pip install -r requirements.txt 3. Run the test project: (wiki)$ cd testproject (wiki)$ python manage.py runserver

edX-platform - Deploying edX-platform fullstack in Ubuntu 12.04

Image
Our team @ UNS  is deploying an edX-platform instance in a VPS. The openness of edX helps us a lot in saving resources and time to plan out the architecture of the project. But, because the edX-platform has gone so far, the code base has grown enormously with a bunch of technologies, It will be a challenge for us to master everything to operate the platform efficiently. There are pros and cons. It seems like everything will be OK the first time we look at edX. I meant the advantages of using Open edX. It is not only because of a huge community behind Open edX, but also because this is a great chance for us to learn and to create value for our Vietnamese education system. The edX platform seems to have a well documentations which helping us to deploy it easily and in a short period of time. With its great architecture design, the platform is mean to serve a lot of users. It meant a lot of educational opportunity for people. I'm not talking about the technologies of edX themse...

How to fix some Vagrant issues

Here are some issues you will face when playing around with Vagrant and how to fix them: 1. Cannot install plugin Remove ~/.vagrant.d directory before re-installing vagrant. 2. Your VM has become "inaccessible." Unfortunately, this is a critical error with VirtualBox that Vagrant can not cleanly recover from. Please open VirtualBox and clear out your inaccessible virtual machines or find a way to fix them. Remove .vagrant file. 3. Cannot run a vm with Vitualbox: Enable VT-x feature in your machine's BIOS. ...

To install vitualbox 4.3 successfully in DigitalOcean's ubuntu 12.04

There are 2 things you need to install if you want to run the latest version of vitualbox in DigitalOcean's Ubuntu 12.04 LTS: make and gcc # apt-get install make # apt-get install gcc and then # dpkg -i install virtualbox-4.3_4.3.6-91406~Ubuntu~precise_amd64.deb

Virtualenv - RuntimeWarning: invalid Python installation

If you put your virtualenv environment inside /usr/local , you will see this error when running pip install something, for example: RuntimeWarning: invalid Python installation: unable to open /usr/share/.venv/yl/lib/python2.7/config/Makefile (No such file or directory) To fix this, just move your virtualenv environment outside of /usr/local !

django-suit - A beautiful admin interface

Image
If you are tired of the poor interface of the Django admin app, you can try django-suit . Django Suit Project's official website:  http://djangosuit.com/ 1. Install django-suit: (virtualenv)$ pip install django-suit 2. Add ' suit ' app to INSTALLED_APPS of your Django project, before the 'django.contrib.admin': INSTALLED_APPS = (          ' django.contrib.staticfiles ', ...         ' suit ',         'django.contrib.admin', ... )  Notes: you also need to include the django.contrib.statifiles app 3. Make sure you include this following template context processor: TEMPLATE_CONTEXT_PROCESSORS = ( ...         " django.core.context_processors.request ", ) 4. Collect static data for your Django project (in production server with DEBUG=False ): (virtualenv)$ ./manage.py collectstatic 5. Refresh the admin page in your browser and enjoy the beauty: Reference...

Install APC - ERROR: `make’ failed

This morning, I tried to install APC in Ubuntu 12.04.4 LTS with the following command: sudo pecl install apc And, I got this error at the end of the installing process: ... ERROR: `make’ failed ... So, to fix this, I install  the following packages: sudo apt-get install php-pear php5-dev libpcre3-dev make Done!

XFCE 4.10 - Add shortcut keys by command line

There is something wrong with the XFCE version 4.10. I cannot add shortcut key to launch an application. Luckily, I can do it using xfconf-query command. For example, to create a shortcut to launch the Whisker Menu by pressing the Super key (windows key): xfconf-query --channel xfce4-keyboard-shortcuts --property "/commands/custom/Super_L" --create --type string --set "xfce4-popup-whiskermenu" You can change the keyboard directly by editing the xml file: ~/.config/xfce4/xfconf/xfce-perchannel-xml/xfce4-keyboard-shortcuts.xml

Redmine - How the Email fetching from IMAP server task works

As I mentioned in the previous blog post, you can make the redmine a support ticketing system by running the rake task to fetch email from IMAP server: http://iambusychangingtheworld.blogspot.com/2014/02/redmine-email-notifications-are-not.html I have no ruby experience, but as far as I understand this is how the imap rake task works. First of all, let take a look at the command: rake -f /path/to/redmine/appdir/Rakefile --silent redmine:email:receive_imap RAILS_ENV=production host=imap.foo.bar username=redmine@somenet.foo password=xx project=myproject unknown_user=create no_permission_check=1 no_account_notice=1  1. The rake task : /path/to/redmine/lib/tasks/email.rake     task :receive_imap => :environment do       imap_options = {:host => ENV['host'],                       :port => ENV['port'],                       :ssl =...

Redmine - Email notifications are not sent when comment issues via email

In Redmine, user create and comment issues via email like a ticket system using ruby script (rdm-mailhandler) or redmine task ( redmine:email:receive_imap ) following this article: http://www.redmine.org/projects/redmine/wiki/RedmineReceivingEmails Example: getting emails from IMAP server and create or update an issue: create a cronjob to run the following command: */30 * * * * rake -f /path/to/redmine/appdir/Rakefile --silent redmine:email:receive_imap RAILS_ENV=production host=imap.foo.bar username=redmine@somenet.foo password=xx project=myproject unknown_user=create no_permission_check=1 no_account_notice=1 The above command will fetch emails from IMAP server when a user sent email to the server account (username=redmine@somenet.foo). Read the body, if there is issue id, create a new issue. If the email has id of an existing issue, add the message as an update. In addition, If the sender is not an existing use , it will create a new account without notify the sender. If ...

Xubuntu 13.10 - How to fix wireless connection to WPA2 Enterprise PEAP

In Xubuntu 13.10 you cannot connect to WP2 Enterprise wireless network without CA_Certificate. It's a bug: https://bugs.launchpad.net/ubuntu/+source/network-manager/+bug/1104476 A workaround is to disable it the configuration file of the wifi connection: $ sudo nano /etc/NetworkManager/system-connections/<Enterprise Wifi SSID> Remove the following line: system-ca-cert=true Restart the wireless service, and it will work! Reference: http://askubuntu.com/questions/279762/cant-connect-to-wpa2-enterprise-peap Update May 8, 2014: Ubuntu 14.04 still gets this wireless issue, use the same method in this post to fix.

Run Chromium OS inside Xubuntu 13.10 x64

Image
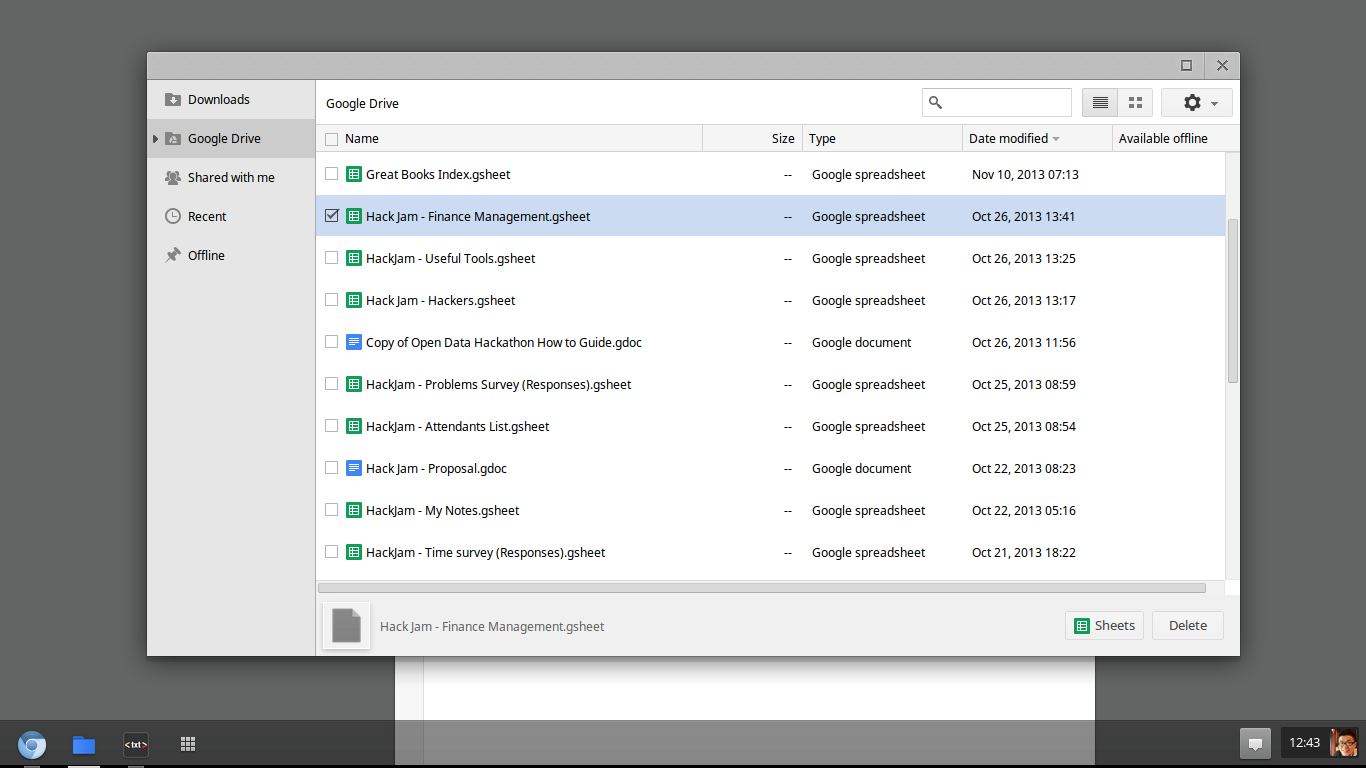
Yes, you can. You can run the open source version of ChromeOS inside a Xubuntu 13.10 x64 box. Actually, we just install the   Chromium OS Aura window manager to Xubuntu (x64 only): https://github.com/dz0ny/lightdm-login-chromeos 1. Install grub2 in Xubuntu 13.10. Because the lightdm-login-chromos requires grub2, but the Xubuntu 13.10 only uses grub legacy. $ sudo apt-get install grub2 2. Install the Chromium OS Aura window manager $ wget https://dl.dropbox.com/u/302704/chromiumos/lightdm-login-chromiumos_1.1_amd64.deb $ sudo dpkg -i lightdm-login-chromiumos_1.1_amd64.deb $ sudo apt-get -f install 3. Add the following blue line to /usr/sbin/chromeos , line 154: $ sudo gksudo geany /usr/sbin/chromeos ...             --enable-natural-scroll-default \             --disable-setuid-sandbox \             "$REGISTER_PLUGINS" \ ... 4. Start the Chromium OS: $ chromeos...

Chromium OS first try

Image
I've just tried the Chromium OS for the first time. Getting started with that OS is quite fast and easy. 1. First, download the pre-built image from  http://chromeos.hexxeh.net/  (You can choose the VMWare, VirtualBox, or USB live image). In my case, I load the image to my USB following the instructions in the link above: 1 Extract the IMG file from the downloaded archive 2 At the shell, run the following (where sdX is your USB stick and ChromeOS.img is the path to the IMG file you extracted): dd if=ChromeOS.img of=/dev/sdX bs=4M 2 . Boot from the newly created Chromium OS USB stick and Enjoy the beauty 3 . Install some development tools:   http://joemarini.blogspot.com/2013/11/tools-for-developing-on-chromeos.html 4 . ChromeOS crosh commandline :  http://www.howtogeek.com/170648/10-commands-included-in-chrome-oss-hidden-crosh-shell/ Cool huh?!